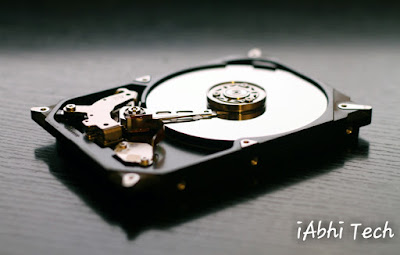
External hard drives are the hardware components that are easiest to replace. It is easy because these peripherals are simply connected with the help of interface ports like USB, IEEE 1394, SCSI, etc., and a power cable. Reasons why you want to remove these components could be:
- You are certain that the component you want to replace is faulty.
- The hardware component is conflicting with another component which is more important in your PC.
- You simply don’t need it anymore or have a better replacement for it.
Whatever be your reason, if you want to get your computer’s old peripherals replaced and are troubled with the steps, here’s how you do it.
Removal:
STEP No. 1 – Uninstall the Device you want to replace:
This step although is unnecessary because the Windows operating system recognizes the change in hardware when you turn your computer on the next time (after replacement) and it makes the necessary modifications accordingly. However, if you want to play safe and don’t want to struggle with any complications, you’ll have to make sure that uninstall all the device software that comes with the peripheral you want to replace and also delete the device properly from the Device Manager.
Note: The above step is unnecessary if you are replacing the device which is exactly same as the device you were using before.
STEP No. 2 – Turn your Computer Off:
You should never remove any device without turning off your computer first. Although your computer can point if the device being disconnect can cause any problem whatsoever, but still it is best to avoid any potential problem from occurring now or in future. In some situations, manufacturer may tell you that it is OK to replace the device by Hot Plugging, but it is safe to do it otherwise.
STEP No. 3 – Unplug Device Power:
Once your computer is shut down completely, turn off the main switch to cut off power supply.
STEP No. 4 – Remove Interface Cable:
All communication and power supply is now dead and it is safe to remove interface cable. So, now you can unplug the external device that you want to replace. The wire will be plugged in the cabinet of your PC and you’ll have to remove the plug from its respective socket.
Adding:
In order to add the new component, your computer should be completely turned down.
STEP No. 1 – Connect Interface Cable:
Now that you have removed the old peripheral from your computer, you need to connect the new device in the appropriate open port (USB, IEEE 1394, SCSI, etc.). In case if the port you require is not available on your computer, you’ll need an adapter (for e.g. an adapter that converts USB to PS/2).
STEP No. 2 – Pug Device Power Cable:
Plug the device power cable in to an available outlet. It is best to plug in any electronic device to surge protector. This will protect your device in case of overload.
STEP No. 3 – Turn the Device On:
Now that the new device has been attached to the computer, you can turn on your computer. Your computer automatically detects the new hardware component and setup plug and play. This ensures that you have very little work to do.
STEP No. 4 – Install Device on Windows:
There are few devices in the market that your operating system might not recognize and install. For this there are installation disks available with the device and you can use the disk to install the device along with its added programs, utilities and drivers.
.
.
.
.
.
.
.
.
Tagged: Device Manager, IEEE 1394, Personal computer, Power cable, Replace External Hard drives


